
Windows 11
If your printer connects by a wire, plug it into your device. It’ll connect automatically, your PC will download the right drivers, and you can use it right away. To connect a wireless printer, follow these steps:
- Select Start > Settings > Bluetooth & devices > Printers & scanners.
- Next to Add a printer or scanner, select Add device.
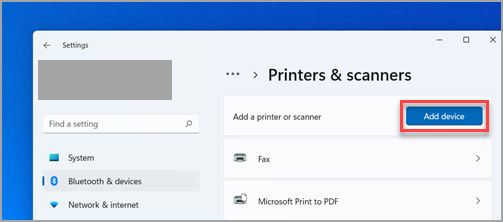
- Wait for it to find nearby printers, then locate the one you want to use, and select Add device. If you want to remove the printer later, select it, and then select Remove.
- If you don’t see your printer, try to fix the problem by using the steps following this link: Fix printer connection and printing problems in Windows.
Windows 10
If your printer connects by a wire, plug it into your device. It’ll connect automatically, your PC will download the right drivers, and you can use it right away. To connect a wireless printer, follow these steps:
- Select the Start button, then select Settings > Devices > Printers & scanners > Add a printer or scanner.
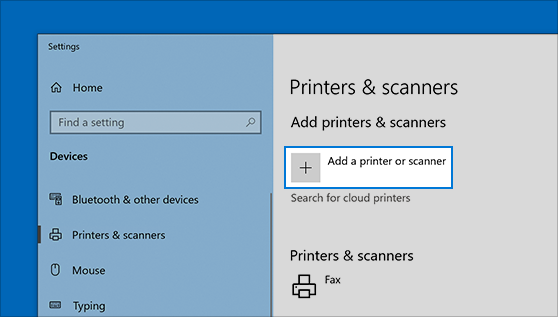
- Wait for it to find nearby printers, then choose the one you want to use, and select Add device. If you want to remove the printer later, just highlight it and select Remove.
- If you don’t see your printer, try to fix the problem by using the steps following this link: Fix printer connection and printing problems in Windows.