If you are not currently signed into OneDrive, use these instructions:
(If you are already signed in, skip to step 3.)
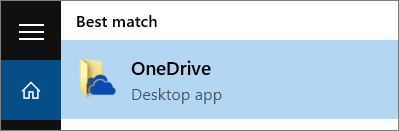
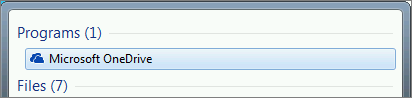
1. Open OneDrive
- From Windows 10, select the OneDrive desktop app.
- From Windows 7, under Programs, select Microsoft OneDrive.
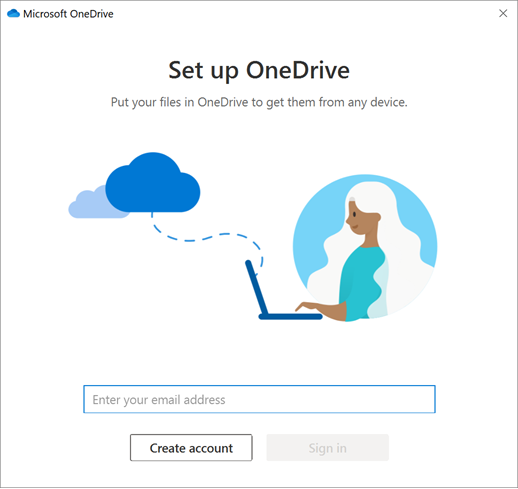
2. When the OneDrive setup starts, enter your personal, work, or school account and click “Sign in”.
3. Right-Click the white or blue OneDrive cloud icon from the Windows taskbar.![]()
4. From the activity center, select “More” then “Settings”.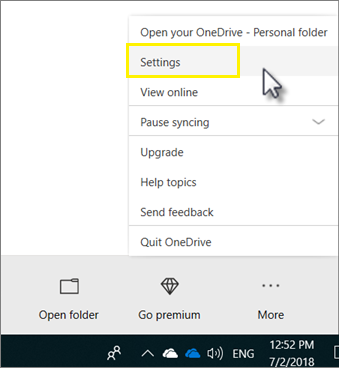
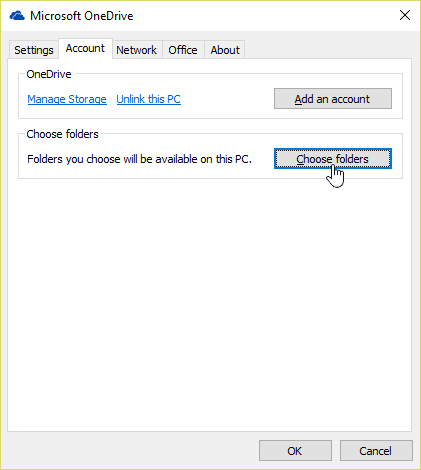
5. From the Settings menu, select “Account”, then “Add an account”.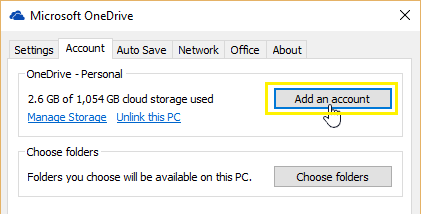
6. When OneDrive setup starts, enter your new account then click “Sign in”.
Notes for OneDrive Setup:
1. On the “Your OneDrive folder” screen, select Next to accept the default folder location for the OneDrive Files. If you need to change the folder location, click “Change location”. This is the best time to make this change if necessary.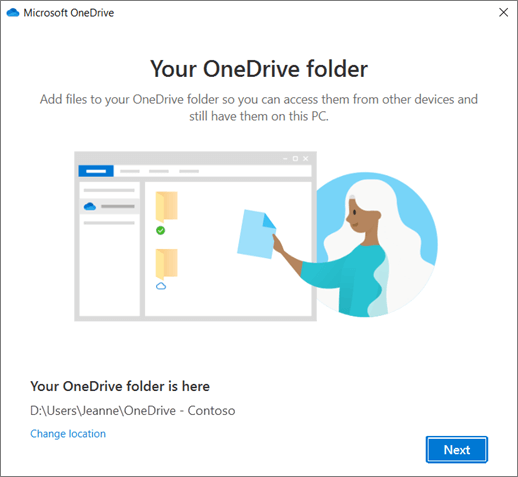
2.On the All your files, ready and on-demand screen, you’ll see how files are marked to show them as online-only, locally available, or always available. Files On-Demand helps you access all your files in OneDrive without having to download all of them and use storage space on your Windows device. Select Next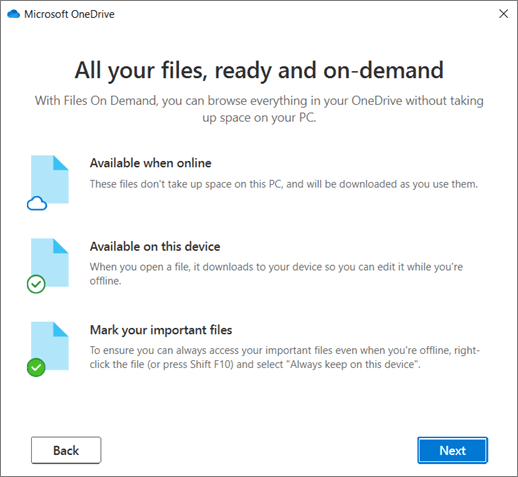
View and Manage OneDrive Files:
Once you have finished setup, you’re ready to go. Your OneDrive files will appear in File Explorer in the OneDrive folder. If you use more than one account, your personal files appear under OneDrive – Personal and your work or school files appear under OneDrive – CompanyName.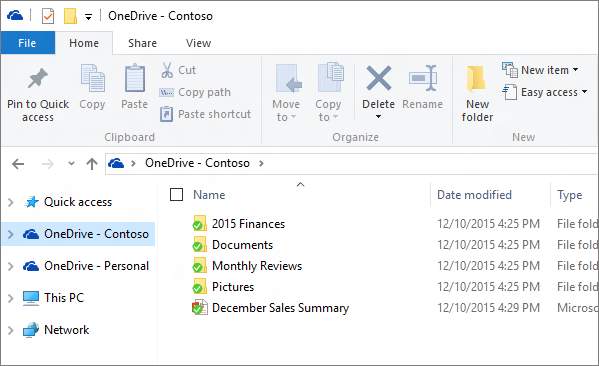
You should now have a new white or blue cloud icon (or both) in your notification area and your files are synced to your computer. Your blue cloud icon will appear as OneDrive – [YourTenantName] when you hover over the icon.
Any time you want to change the folders you sync on your computer, right-click that cloud icon in the taskbar notification area, and select Settings > Account > Choose folders. Find other information about your account and change other OneDrive settings from here.