
1. Open Start Menu -> Network and Sharing Center and click Settings.
2. In the Network and Sharing Center, click Set up a new connection or network.
3. In the Set Up a Connection or Network pop-up window, choose Connect to a workplace. (Set up a dial-up or VPN connection to your workplace).
4. Choose Use my Internet connection (VPN), in the Connect to a Workspace dialog window.
5. In the Connect to a Workplace dialog box, enter:
- Internet address: Enter the public IP address (found in Dashboard, under Security appliance -> Monitor -> Appliance status -> Uplink) for the MX appliance.
- Destination name: Optionally enter a name for the VPN connection.
Click Create.

6. Go back to Network and Sharing Center and click Change Adapter Settings.
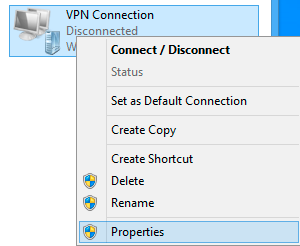
7. In the Networks Connections window, right-click on the VPN connection icon and choose Properties.
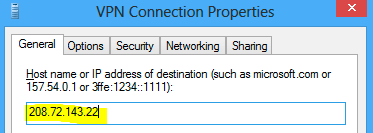
8. In the General tab, verify that the public IP address or the URL of the MX appliance.
9. In the “Security” tab, choose “Layer 2 Tunneling Protocol with IPsec (L2TP/IPSec)“.
Then, check “Unencrypted password (PAP)“, and uncheck all other options.
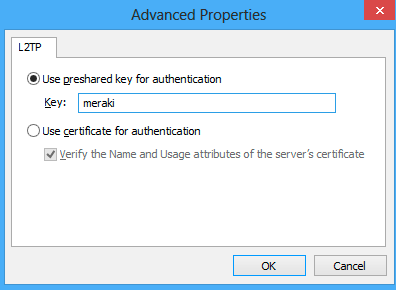
9. Click on “Advanced settings“.
In Advanced Properties dialog box, choose “Use preshared key for authentication” and enter the same key you used for the client VPN settings in the Dashboard. Note: if you are enabling client VPN for your employees, you will need to distribute this key.
10. Click OK.
Back at the Network Connections window, right-click on the VPN connection and click Connect / Disconnect.
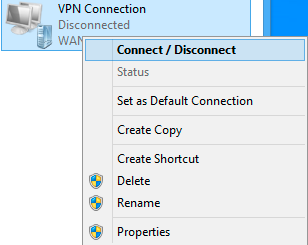
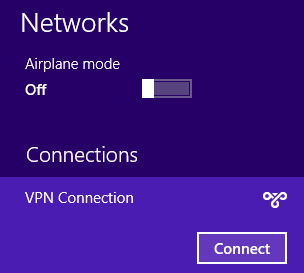
11. Find your VPN profile and click Connect.
12. Enter your user name and password. Click OK.